The Sims 4 community is great at adding its own spice to the game, including wacky mods. While MC Command Center can add to outrageous gameplay, it is also handy for giving practical augmentations to your game. For example, don't you sometimes wish your neighbors would have their own life progressions, such as marriages and children? MC Command Center can help with that.
How to Set Up MC Command Center
Have you ever wanted to control your sim's entire world, down to the finest detail? Then read on for a guide on how to acquire one of the best mods in The Sims 4. Note that this process requires moving downloaded folders into the Mods folder of The Sims 4. Be sure to read and follow these steps carefully before adjusting your game files. Mods are performed at the user's own risk.
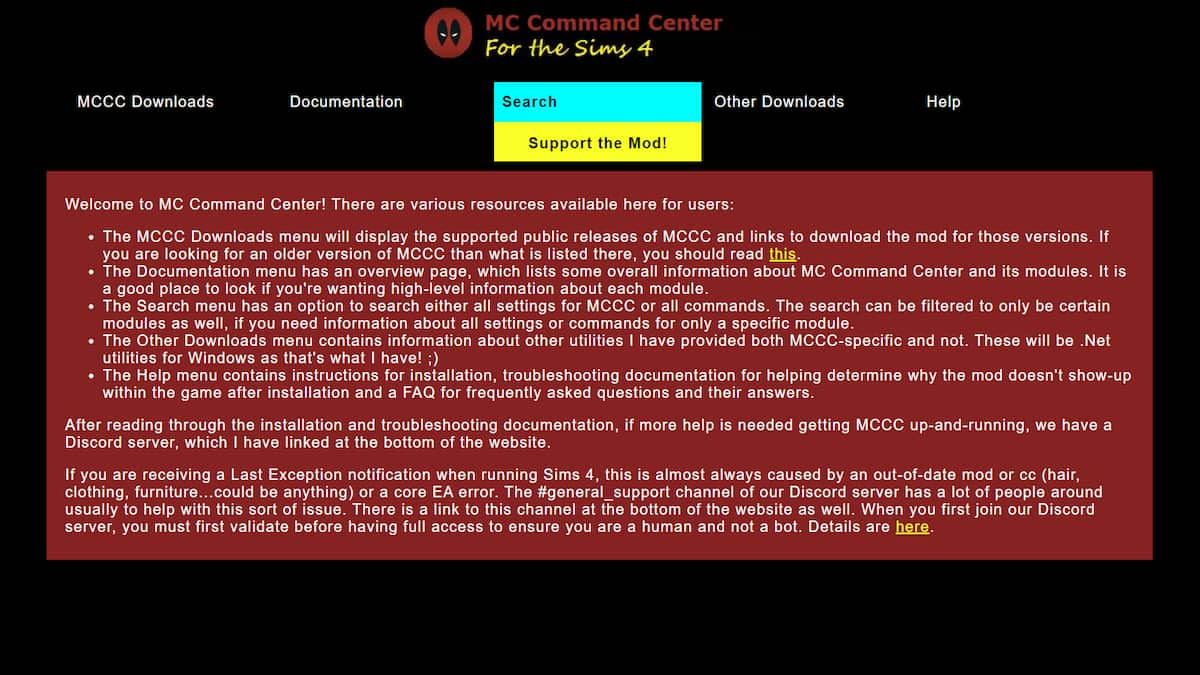
Step One: Go to Deaderpool's Blog

The MCCC mod was created by Deaderpool, who still has the download hosted on their personal blog. From there, you will navigate to the MCCC Downloads tab. This will show you all of the most recent versions of the mod with helpful descriptions for compatibility.
Step Two: Download and Unzip the File
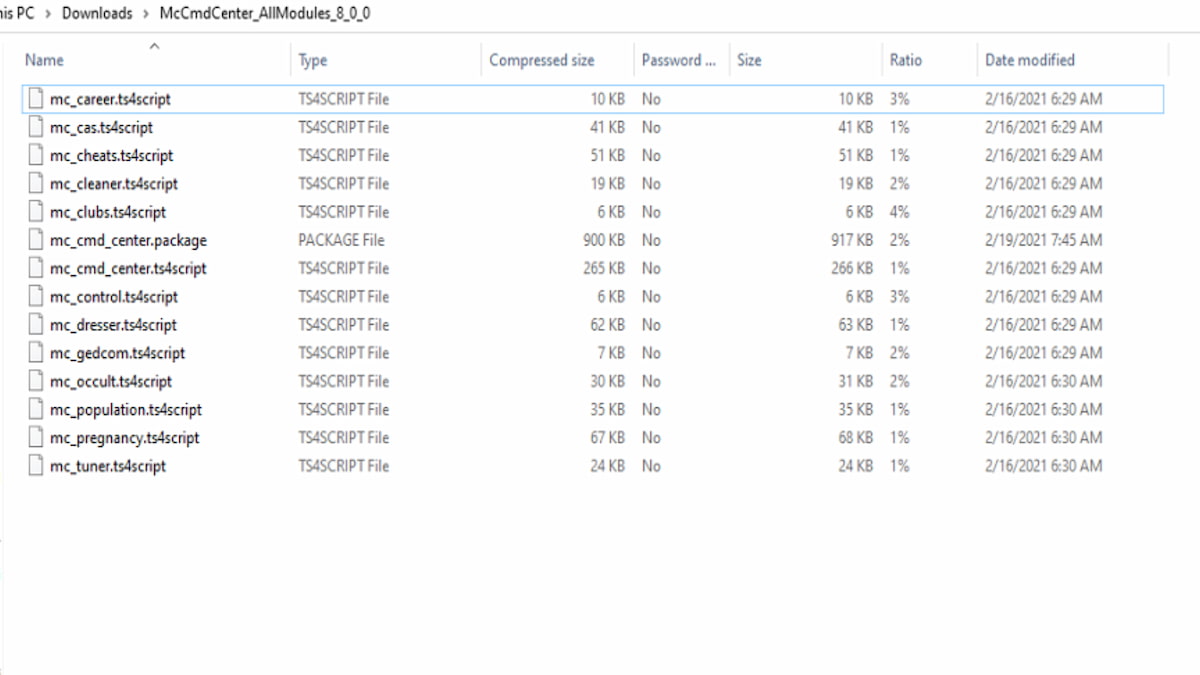
After you find the download most compatible with your Sims 4 setup, proceed to click it under the Release column. This will start the download of the zip file. Once you access the file, unzip it to reveal all the individual documents.
Step Three: Place the Download in the Mods Folder

After unzipping the file, you will see several items inside. Move all folders over to your Mods folder, which is located in the Electronic Arts folder that holds your Sims 4 folder (which is within your Documents). This will enable the mod to work.
Note: If you have other mods and want to keep them organized, you can add one layer of the folder for the Mods folders. For example, you can create an MCCC folder within the Mods folder, but not another within the MCCC folder. If you do this, the mods will not be detected by the game.
Step Four: Edit and Save the Resource.cfg File
When you install MCCC for the first time, you will need to edit and save the Resource.cfg file. This is necessary the first time, but only once (even when you update the mod). You also only need to do this if you are not using specified sub-folders within your mods folder. If you are organizing with folders, you can skip this step.
To start, right-click on Resource.cfg and select open. Use Notepad to open the file. Make sure the file looks like this:

If everything looks correct, save the file and get ready to start up your game.
Step Five: Start Your Game and Check if the Mod is Running
Open Origin and start The Sims 4. Once there, go to the Menu and select Game Options, then Other. In this box, make sure to check the boxes to Enable Custom Content and Mods and Script Mods Allowed.
After you enter the game, there should be a popup that introduces MCCC in your game. If this does not happen, the mod is not working.
Step Six: Go to a PC or a Sim

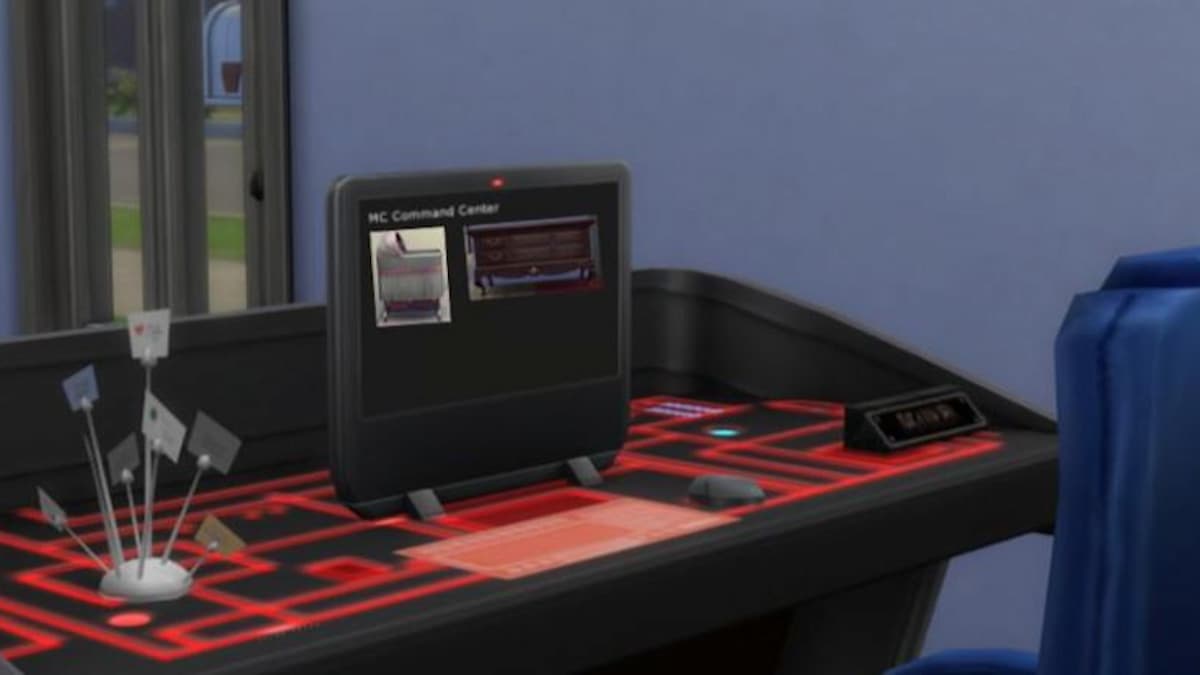
To find the settings that you'll frequently use for MCCC, go to either a computer in a household or your sim. Click on either to find the settings (labeled MC Command Center or an icon of Deaderpool).
Step Seven: Make Sure to Keep Up to Date
Whenever there are updates in the game, you will need to update MCCC. This applies to all mods and custom content in The Sims 4. Make sure to keep an eye on Deaderpool's site for updates.
Want to read more guides about The Sims 4? Check out Sims 4 Promotion Cheats – Get ahead in your career on Pro Game Guides.
