Completing all of the Solstice Shrines is an important part of unraveling the mysteries behind Sea of Stars. The shrines typically hold special relics and accessories that provide your characters with powerful abilities and combo moves. However, they require solving some pretty intricate puzzles first. If you're like me, you'll love taking the time to work these puzzles out, but if not, don't worry; we have step-by-step instructions on how to accomplish them ASAP. Keep reading below for a guide on how to complete the Wraith Island Solstice Shrine!
How to solve the Wraith Solstice Shrine Puzzle in Sea of Stars

The Wraith Island Solstice Shrine can be found on the path to the right beside the Cursed Woods on the way to Haunted Mansion. You'll need to traverse through the Town of Lucent first to get there. This can only be done by reaching the proper point in the story. To get into the Shrine and unlock it, you'll need to have your Graplou unlocked as well. Then, swing across using the B or O button to press the button in front of the door.

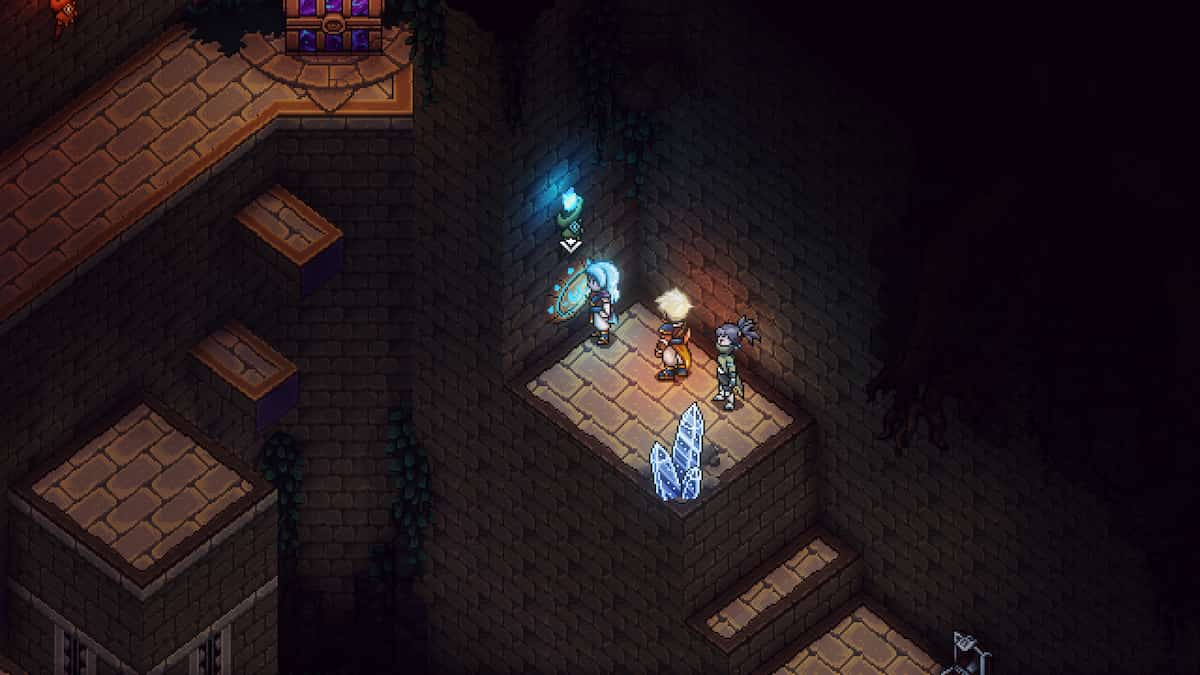
Inside, you'll notice several different aspects of this puzzle. First, the goal which is to get to the very top of the shrine and collect the giant chest. Secondly, you'll notice the various obstacles to get to the chest: platforms of all different heights, shiny keystones, and holes in the walls. You'll need to raise the proper platforms and extend beams to reach the top, and you'll need to collect all the keys and place them in the key slots to do that. This is a multiple-step process, so we'll show you each step as straightforward as possible (flip through the images below to see each step and follow along with the list):
Related: 11 Sea of Stars Tips and Tricks
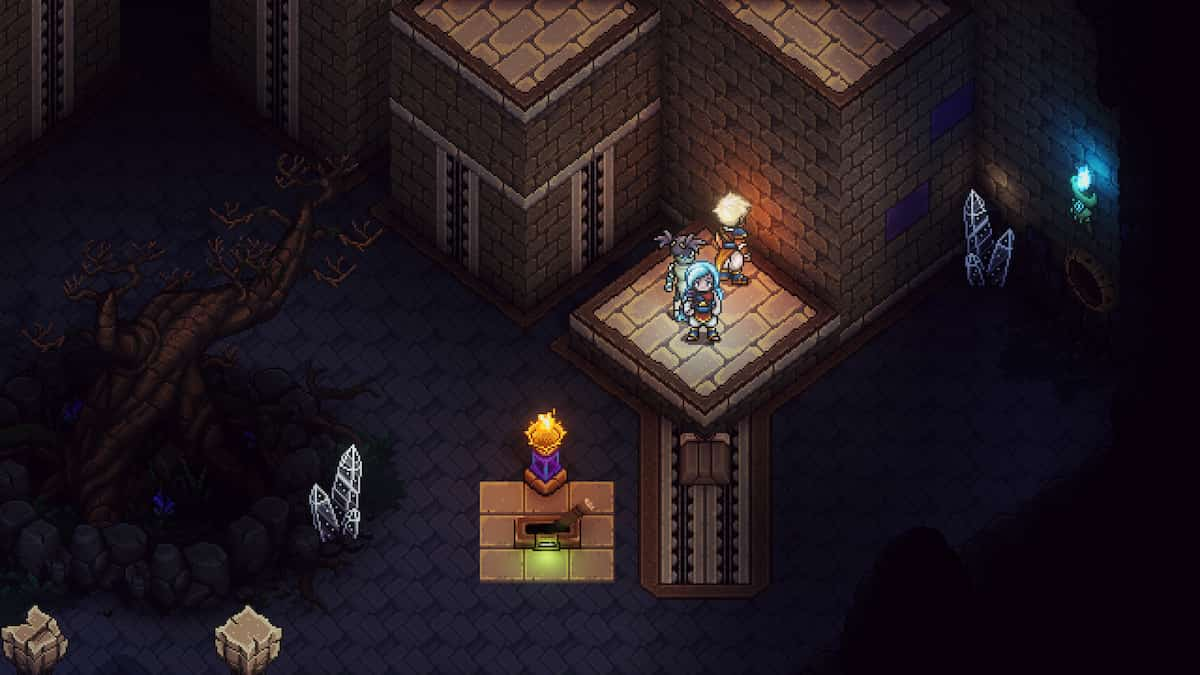
- The first step to getting up to the top will be collecting the first shrine key on the left side of the shrine (shown in the image further up). To do that, you'll need to raise the platform in the left corner. Head over to where the lever is located and then climb up onto the lever platform behind it; it will automatically lock into place once it is lowered, and at the same time, it will raise the platform you need.
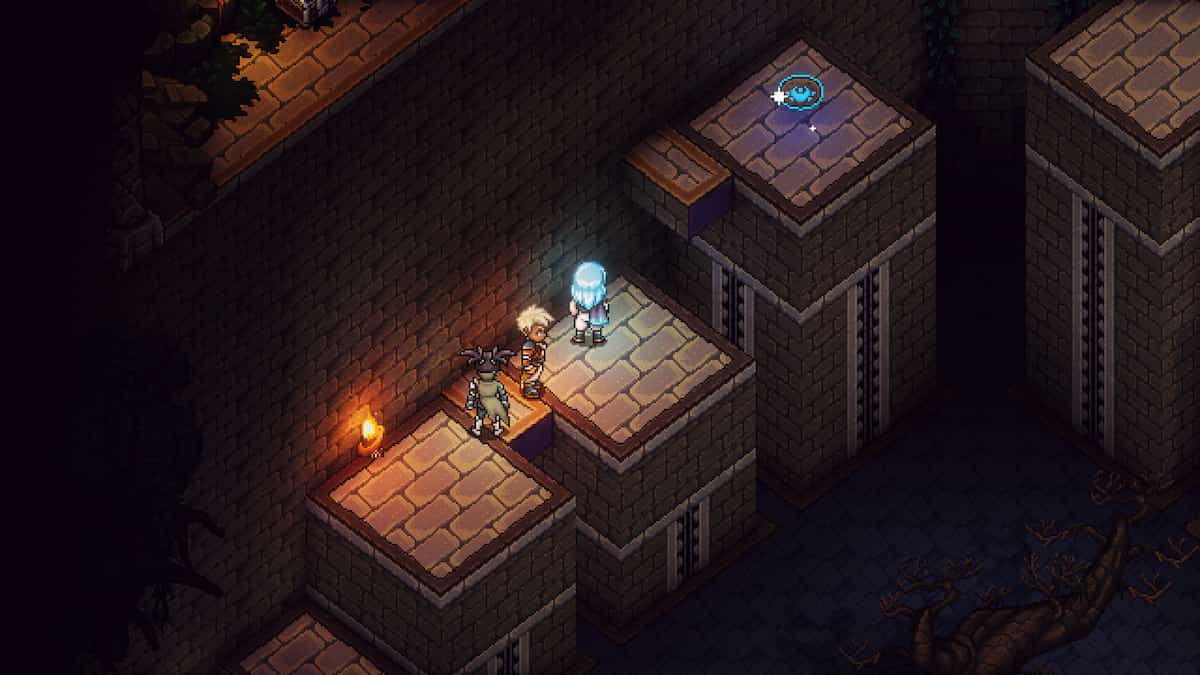
- Once the platform is raised, you can climb up onto the first ledge and then up onto the following platforms to collect Shrine Key A. However, the slot for key A is now blocked by the platform, so you'll have to lower it again.
- To lower the platform, jump down and hit the lever. Once the lever is activated, it will lower the platform again to reveal the key slot like before. Now, you can climb up and place Shrine Key A into the slot. Placing it into the slot will activate the first few beams to extend out and give you access to the Shrine Key B.
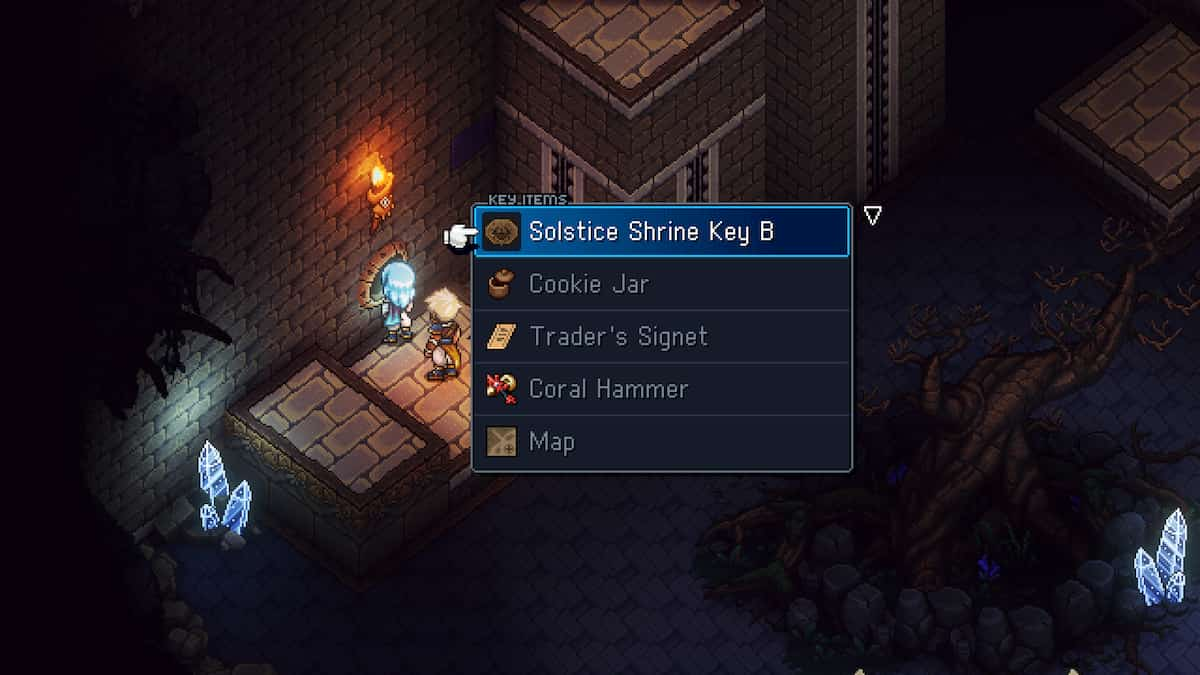
- To get up to the key, you'll need to raise the key slot A platform again for you to climb up. Simply repeat the process like before by climbing up onto the lever platform and letting it lock into place, raising the key slot A platform. Now, you can climb all the way up, make a slight jump to reach the second beam, and collect Shrine Key B.
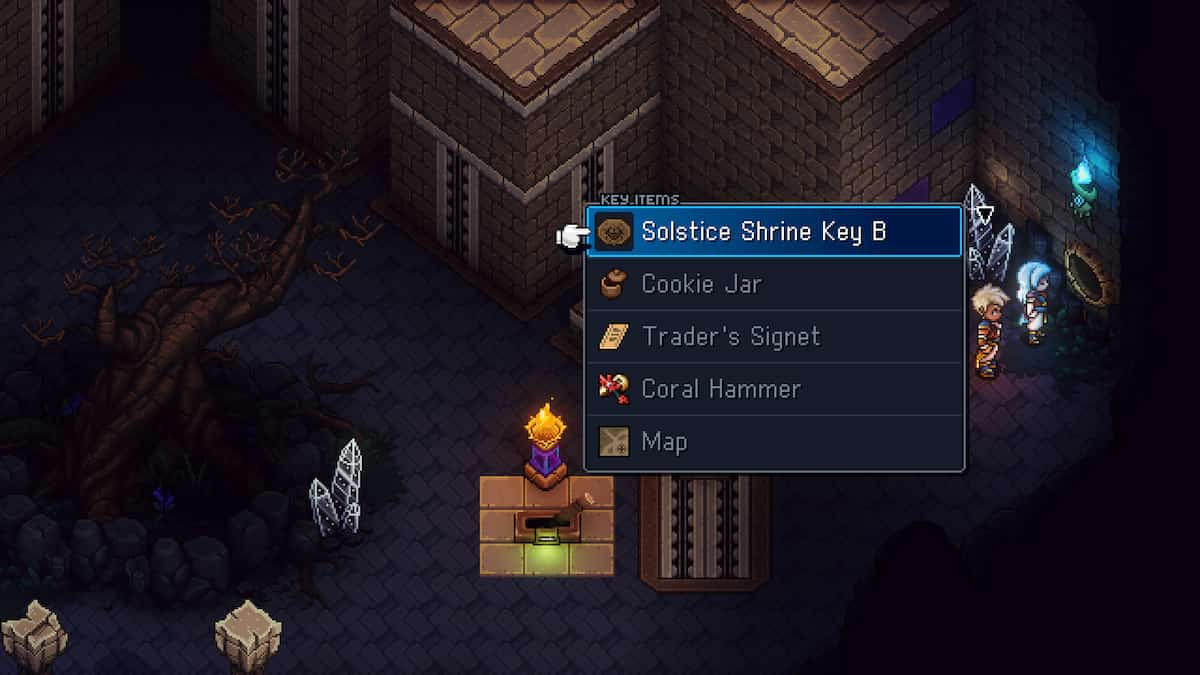
- Now that you have that key, head to the top right corner of the Shrine and place it into key slot B. This will extend the beams directly to your left and allow you to climb up onto the right wall and platforms.
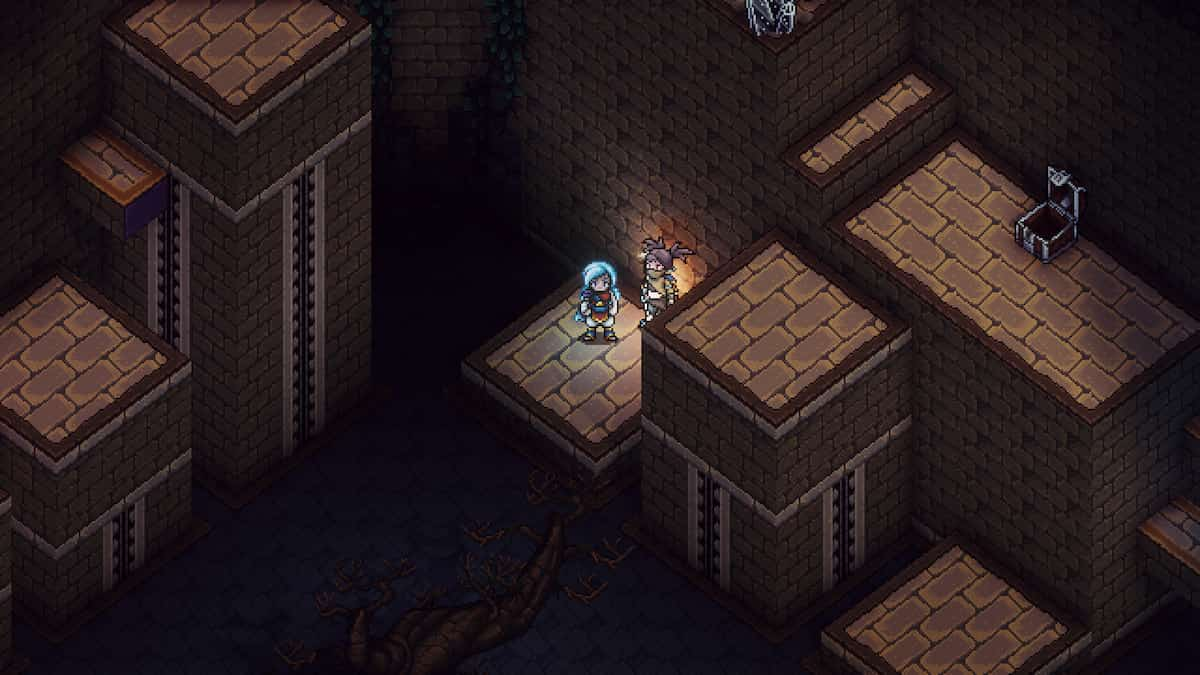
- While you're up there, you can collect a chest, and you'll notice there is another key slot. However, right now, you'll want to complete one more step to help you reach the top. From the very top of the wall on the right side, jump down onto the second platform. This will raise the platform diagonal from it and create another higher step toward the chest, but you'll still need two more beams extended.
- You'll need to place a key into key slot C at the top of the right wall in order to extend the beams that you need. However, you'll need to keep key slot B filled to be able to reach it, so that means you'll need to take Shrine Key A. If your key slot A is blocked, press the lever to lower the platform and then remove the key from the slot. Now, climb up and place it into the key slot C. This will extend the last two beams that you need to reach the top. However, removing the key from key slot A has lowered the first two beams, so you'll need to fix this to climb all the way up.
- Head back to the top right corner, remove Shrine Key B from key slot B, and then place it into key slot A. This will extend all the beams out again and allow you to climb all the way up to the top and grab your chest at last.
Completing this puzzle will deactivate another Solstice Shrine light from the mysterious door on Evermist Island. You will also be able to learn a new special ability from the chest. Don't forget to collect another little bonus chest off the far left side at the top. You can now tick another Solstice Shrine off your list and continue on to the next one!
Looking for more Pro Game Guides Sea of Stars content? Check out our guides on Sea of Stars Fishing Guide – All Fishing Locations, How to catch, & more! or Sea of Stars Level Up Guide – Best Stats For All Characters!

