The last of the seven relics for the Ready Player Two Virtual Treasure Hunt quest has been found, and it's the Chaotic Top Hat! The Chaotic Top Hat was found in the Roblox Dungeon Quest game. Dungeon Quest is very popular within the Roblox community, so many of you might already be familiar with how to play.
The quest to get the Chaotic Top Hat requires multiple steps and is arguably the most difficult quest of the Virtual Treasure Hunt, so have patience. Due to certain steps that will become clear as you read, I believe this quest must be finished in one go, on one server, so carve out a good chunk of time to play. Most importantly, thought: have fun and don't give up!
How to get the Chaotic Top Hat
To get the Chaotic Top Hat, go into Dungeon Quest. This guide has broken down the quest into three major steps: Finding the Gems, The Blinking Lights, and The Boss. Each step requires plenty of work, many of which is unique to your own account. Not everything in this quest can be solved by watching a video, which is why getting the Chaotic Top Hat is so difficult. So be sure to follow these steps very carefully, and you will walk away victorious with the Chaotic Top Hat!
Step 1 - Finding the Gems
First you need to touch 7 colored gems in a specific order. Run through each gem, literally touching them. There isn’t an audio indication, so make sure you run through them!
The exact order of the 7 colored gems are:
- Red
- Yellow
- Blue
- Cyan
- White
- Purple
- Green
Note: If you do not follow this specific order, Step 2 of the Chaotic Top Hat quest will not trigger.
The locations of each colored emerald are as such:
Red
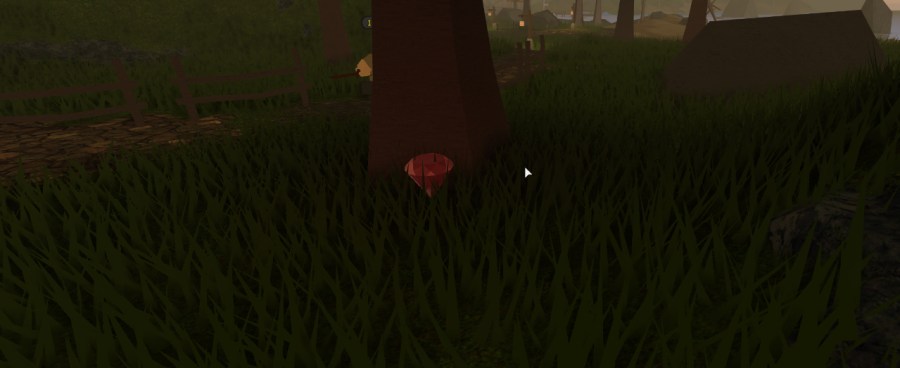
Starting from the spawn point, travel forward and cross the small bridge. Continue walking straight until the path starts to turn right. Do not turn right up the path. Instead, look behind one of the first trees you find. The red gem is behind that tree.
Yellow
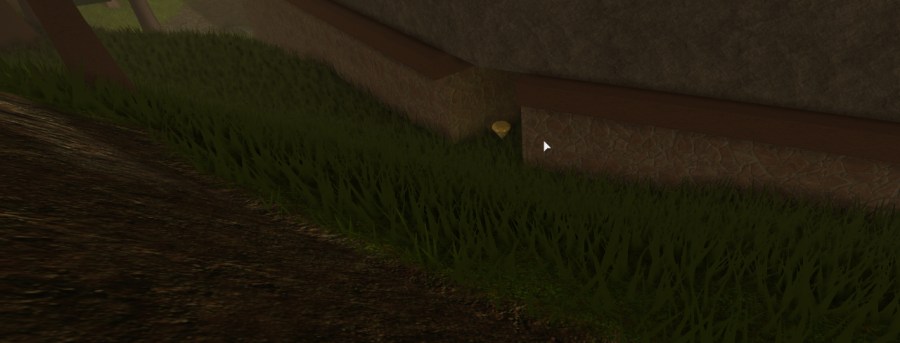
The yellow gem is located behind a long stone building, within a crack in the wall. This long stone building is located above the spawn, and more specifically above the "Join the official ‘Dungeon Quest’ group” sign. Travel in that upward direction until you find the crack in the wall.
Blue
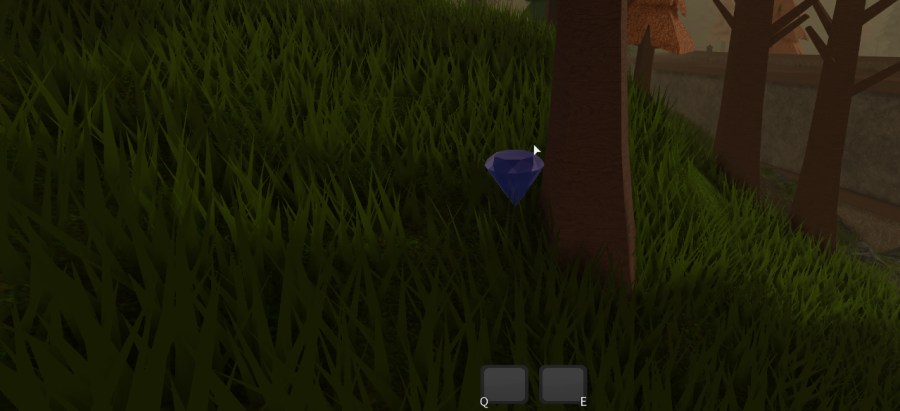
The blue gem is hidden behind a tree. If you follow a straight path from where you found the yellow gem, you will eventually find this blue gem behind the tree.
Cyan
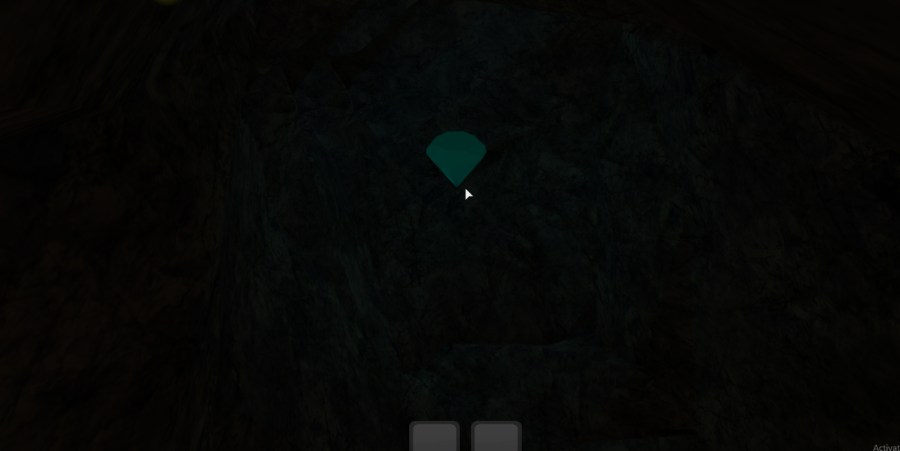
This gem is under the wooden bridge that is just past the spawn point. The gem is in an underwater cave. Swim below the bridge and enter the cave to find the cyan gem.
White
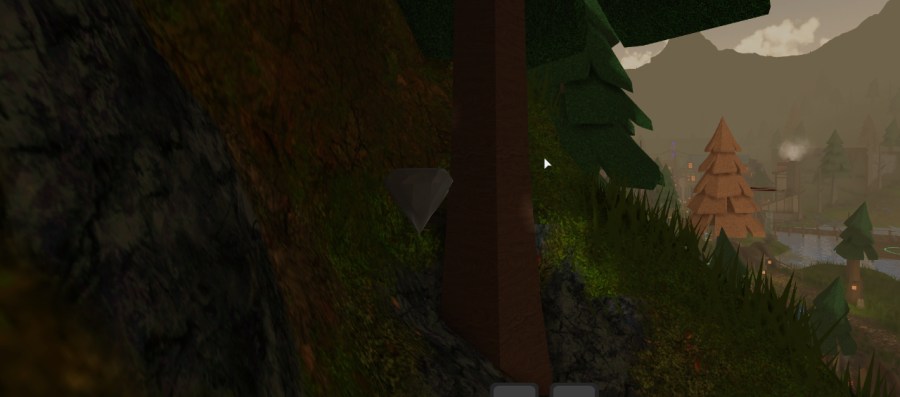
The white gem is located above the Advanced Training Bags. You will find the white gem behind one of the trees.
Purple
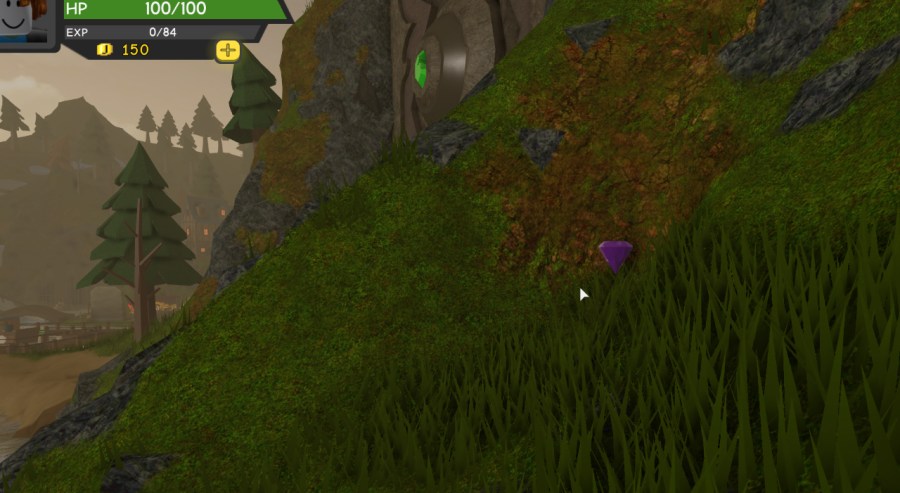
The purple gem can be found just past the large closed door that is built into a mountain. The door has a green emerald built in. The gem is located behind a rock wall, to the right of the large closed door.
Green
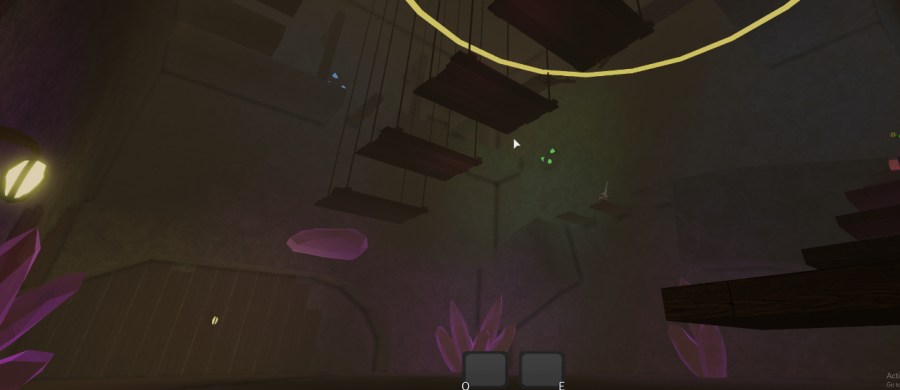
The green gem is located behind the spawn point where the boulders are blocking a cave. Climb the boulders to squeeze through the cave. Continue into the cave until you reach an obby.
This obby is difficult. Be prepared for precise platforming and multiple attempts. For most of the obby you will want to jump at the last second, so time your jumps carefully. At the end of the obby is the green gem.
Step 2 - The Blinking Lights
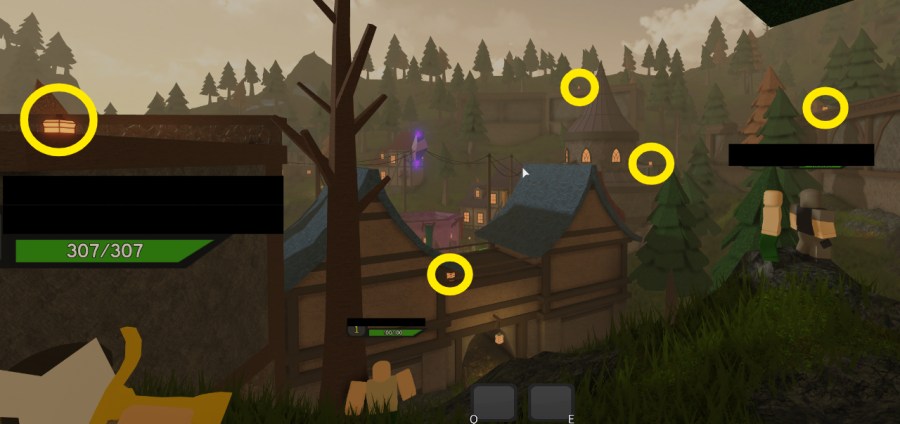
Now you need a 6-digit code to unlock the cell door in order to reach Step 3. To get the code, you have to count blinking lights, 5 in total. Above the Boulder cave is where you should stand to see all blinking lights at once. Every player’s code is different, so you can’t grab a code from a video.
Note: If you have recording software like OBS, use this this so that you can watch the lights blink in slow motion. Otherwise, you will have to watch the blinking sequence over and over until you are confident that you’ve picked up the correct code.
Tips:
You will know the sequence has ended when the lights no longer blink and a long pause ensues. The amount of lights blinking = a number.
For example: If 5 lights blink at the same time, the first number is 5. Then, if the next lights only have two blinking lights, the second number is 2. Again, if the next lights only have 3 that blink, the third number in your code will be 3. My code was as follows:
3 1 3 3 5 2 0
Then go back to the bridge and look for the locked cell to the right. Enter the code here by literally clicking the numbers on the keypad. If entered correctly you will have been teleported to a bright location with a bunch of servers.
Step 3 - The Boss
This sequence is on a 10 minute timer, so move with haste. Break down the door to enter a small obby. This one is much easier than the green gem obby. Time your jumps properly and safely make it to the other side.
Break down the door to reach the last chamber: The Glitch!
The Glitch Boss - Strategy
- When the whole ground turns grey, quickly run behind a server. If you don’t get there in time you will take a lot of damage.
- Avoid the red and grey lines - the Glitch will shoot lasers at you.
- While using your regular attack, spam your Q and E attacks as much as possible. This creates a three-way combo that deals tons of damage to the Glitch.
- When the Glitch’s health reaches halfway, two stationary power machines will spawn. They will heal the Glitch over time, so take those out as fast as possible.
- Don’t worry: if you lose a life, the Glitch’s health remains where you left off. But be careful not to lose all three lives!
When you beat him, the Glitch will disappear and you will get a Mission Completed. You have just earned the Chaotic Top Hat!
Because the Chaotic Top Hat quest is so difficult, it might be helpful to follow along to DeeterPlay's video, to get a better sense of the gem locations and the blinking lights step.
Need help finding the other Ready Player Two event quest items? We have guides in our Promo Codes List page for all of them.
