The Warlord's Ruin Dungeon in Destiny 2 is ripe with secrets to be found. Among the windswept cliffs and desolate hallways lay secret chests waiting to be plundered; their locations are many and their loot plenty.
However, much like everything else in this Dungeon, the chests aren't quite what they seem. Players will need to stay on their toes if they hope to collect their loot and make it out in one piece. Here's where to look for them.
Where are the secret chests in the Warlord's Ruin Dungeon? (Destiny 2)
Bungie pulled a sneaky one with Warlord's Ruin. Rather than having dedicated locations for the secret chests in the Dungeon, there are instead possible locations for chests. When I say this, I mean that there are actual chests in each of these spots, but only two of them won't be trapped. What this means is that you'll have to check each location on every run to get your potential bonus loot.
The trick to telling if a chest is trapped is to look for a pulsing blue glow. It's not constant, so give it a few beats before opening it up. Should the chest be trapped, it will paralyze you and spawn several Screebs.

Location #1
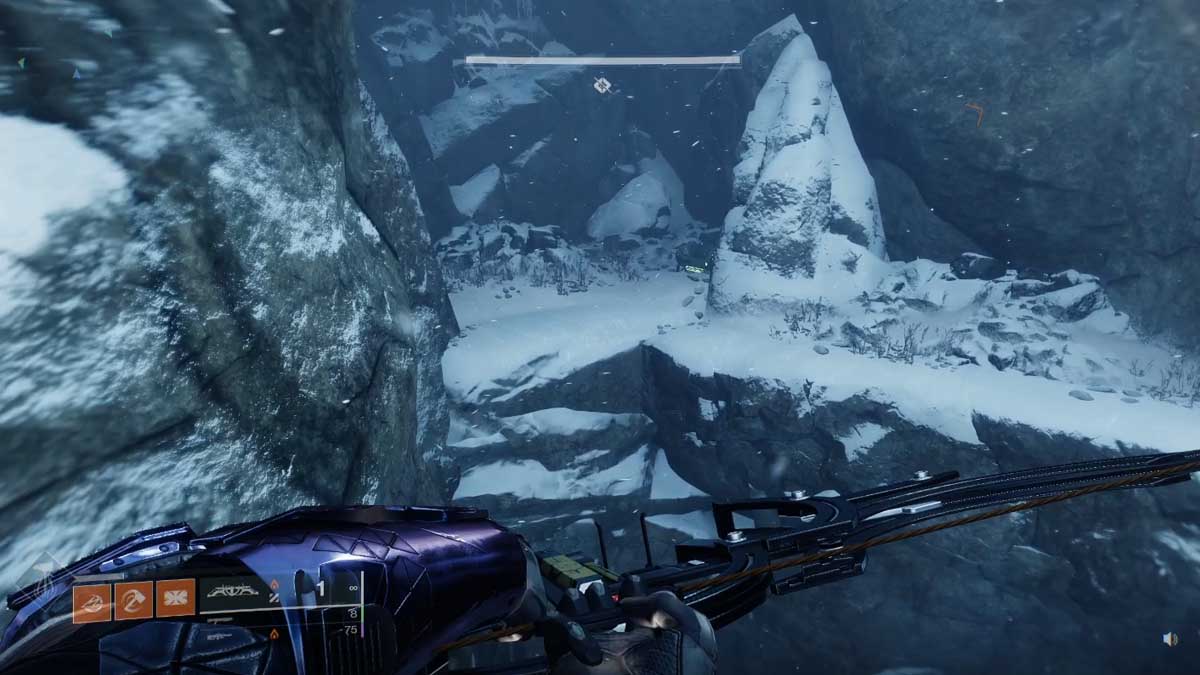
Immediately after loading into the Dungeon, you'll be on a snowy ridge. Instead of leaping across the first chasm, follow the path around to the left to find the first potential chest.

Location #2
After breaking free of the jail, you'll have to navigate the twisted hallways of the keep to find the exit. Just before said exit will be a staircase leading down that will split in two directions. Going left will take you out whereas the right appears inaccessible.
This is just a ruse as you can crouch your way through the rubble. Following the hallway will eventually lead to a dead end with the second potential chest.


Location #3
The third potential chest is very close to the second. Down the left hallway that we ignored will be a doorway on the right. Inside will hopefully be the treasure we seek.


Related: Destiny 2 Warlord’s Ruin Dungeon guide – Locations, boss loot, & more
Location #4
After crossing the first bridge guarded by the flying meatball, you'll come to a large keep. Before following the wall on the left to the tunnel access, head inside to check the chest inside.


Location #5
After taking down the second boss, you'll come into a room full of chests. Only one won't be trapped. Work with your fireteam and pay attention to the glows to find the one guaranteed secret chest.

Location #6
After the room full of chests, you'll be out on the cliffs again. Outside, you'll find several yellow tarps hung in the air above a tunnel with two lights outside of it. Opposite of that tunnel is a cliff with the sixth potential chest.


Location #7
The final chest is in the area with four pillar-esque mountains. In one of them, there will be a tunnel lit by two torches. Head into the tunnel and turn left to find the last possible chest.


For more Destiny 2 content, check out How to get the Wish-Keeper Exotic bow in Destiny 2 on Pro Game Guides!
